Step 1: Choose a Durable Bag or Container
- Select a waterproof, durable bag or container that’s easy to carry. A backpack, duffel bag, or plastic bin can work well for this purpose.
Step 2: Water and Non-Perishable Food
- Include at least one gallon of water per person per day, for at least three days, for drinking and sanitation.
- Pack a three-day supply of non-perishable food items such as canned goods, energy bars, dried fruits, and nuts. Remember a manual can opener if you include canned food.
Step 3: Flashlight and Batteries
- Add a reliable flashlight and extra batteries. Consider a hand-crank or solar-powered flashlight as an alternative or supplement.
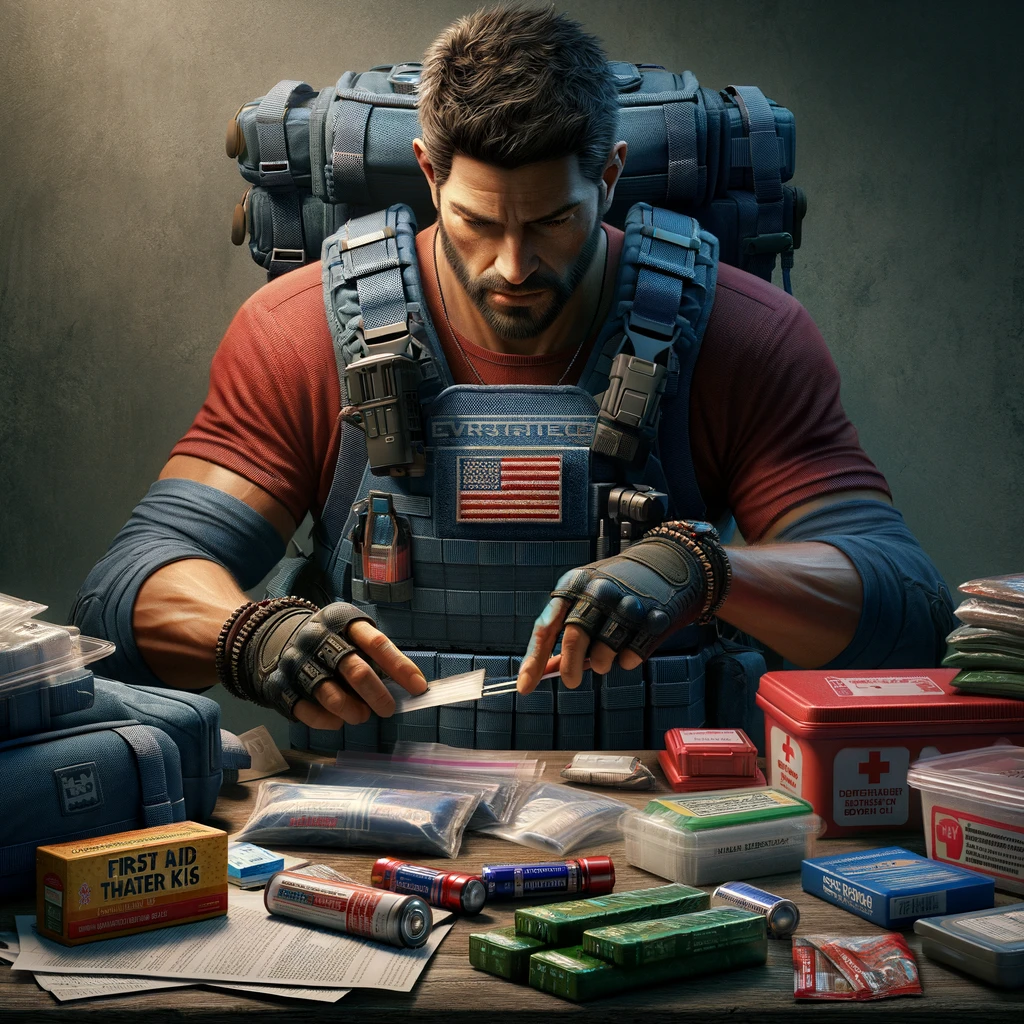
Step 4: First Aid Kit
- Assemble a first aid kit including various sizes of adhesive bandages, antiseptic wipes, antibiotic ointment, gauze pads, adhesive cloth tape, aspirin, a blanket, scissors, tweezers, and any prescription medications.
Step 5: Hygiene Items
- Include personal hygiene items such as toothbrushes, toothpaste, soap, feminine supplies, and wet wipes.
Step 6: Clothing and Bedding
- Pack a change of clothes for each family member and bedding items like sleeping bags or warm blankets, especially if you live in a cold climate.
Step 7: Tools and Supplies
- Add tools and supplies including a multipurpose tool or knife, duct tape, whistle (to signal for help), plastic sheeting, and garbage bags with ties for personal sanitation.
Step 8: Important Documents
- Gather copies of important documents like identification, insurance policies, and bank account records in a waterproof, portable container.
Step 9: Communication Devices
- Include a battery-powered or hand-crank radio and a fully charged portable charger for your cell phone to stay informed and able to communicate.
Step 10: Cash and Local Maps
- Have cash in small denominations and local maps, as ATMs and credit card machines may not be operational.
Step 11: Special Needs Items
- Consider the needs of all family members and add items such as baby supplies, pet supplies, and extra glasses or contact lenses.
Step 12: Customize Your Kit
- Tailor your emergency kit based on your family’s specific needs, the climate of your area, and potential local disasters you might face.
Step 13: Maintain Your Kit
- Regularly check your kit to replace expired items and update your supplies based on your family’s changing needs.
Remember, the goal of an emergency kit is not just to survive but to do so comfortably until help arrives or the situation improves. Start with the basics and expand your kit as needed. Being prepared can make all the difference in an emergency.